Crispy cinnamon and ginger chapati wafers
- Uncle Taps
- Apr 1, 2020
- 4 min read
Makes 30+ cookies depending on preferred size. Total cooking time, 2 hours.

Chapati (also known as roti, safati, shabaati, phulka and roshi) is a kind of unleavened flat bread that is most strongly associated with Indian cooking and is also popular in Nepal, The Caribbean, Bangladesh and Sri Lanka. They are quite popular in East Africa, Zimbabwe, South African and other African countries with a significant Indian population or cultural history. These were first introduced into my life by my step-mother at the time in Zimbabwe, who had familial ties to the local Indian communities, though not Indian herself. As someone who enjoys eating with their hands (and much prefers it over using cutlery) flatbreads are great for adding starch and texture to a savoury dish while doubling up as a great way to pick up sauces, curries and gravies. When made well they are light and fluffy with loads of flakey layers, much like puff pastry.
This week I was playing around with the idea of making a sweet chapati stack cake (think of a pancake cake stack) that uses milk instead of water, more sugar and seasoned with some warm spices. What I learned from this meander was that they actually can turn out resembling a crispy wafer more than a fluffy stack of soft pancakes and decided to lean into this new direction.
After a few tweaks I've landed on a thin crispy wafer that snaps as you bite into it, releasing a viscous amber of chewy caramel and spice. This was certainly a happy little accident that didn't last very long in my cupboards. Give it a try and let us know how it turns out.
Ingredients
Chapati dough
1 cup sifted cake flour, extra for dusting
1 tablespoon brown sugar
1/2 teaspoon fine salt
1 1/2 tablespoon melted butter
1/3 + 1/8 cup warm milk (110 ml)
Chapati filling
2/3 cup brown sugar
1 tablespoon powdered cinnamon
1/2 teaspoon nutmeg
1 teaspoon ginger
1/4 cup melted butter or cooking oil
Equipment
non-stick pan, non-stick spray, wax paper, oven, mixing bowl, clingfilm, rolling pin, cooling rack
Method
1. Mix flour, brown sugar and salt together in a mixing bowl with a fork.

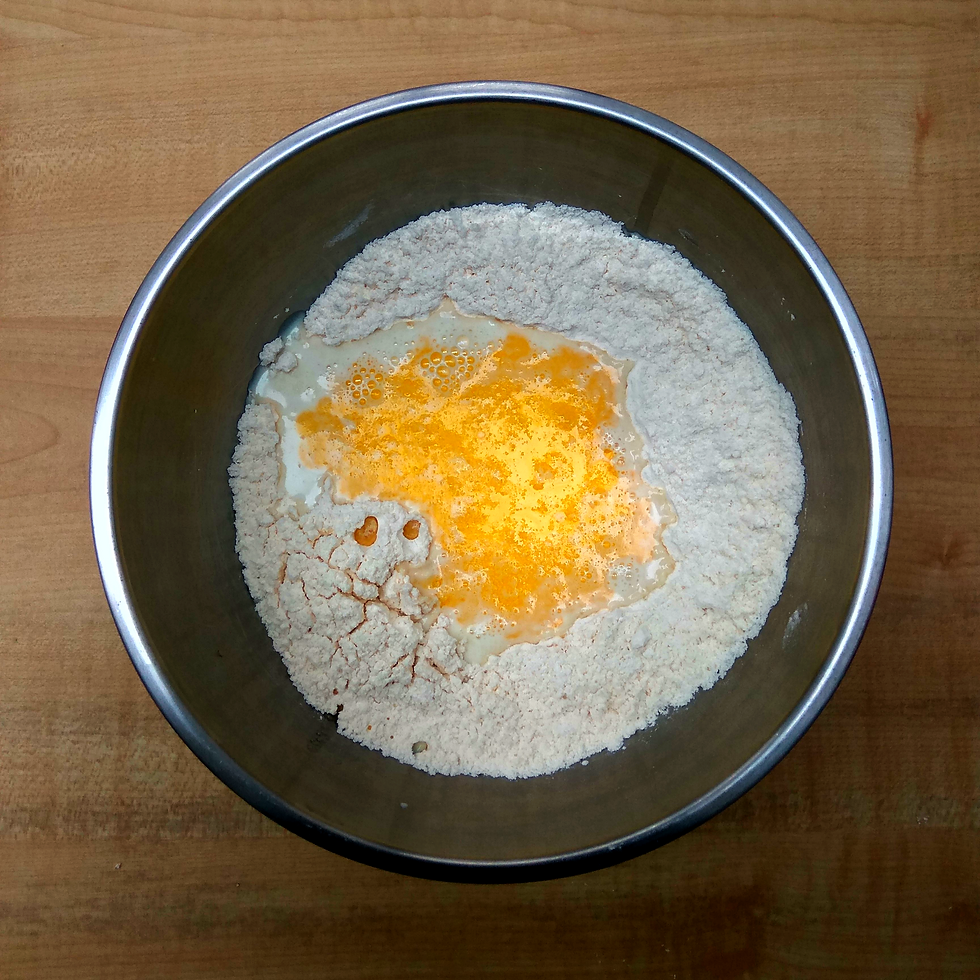
2. Make a well in the flour and add the melted butter and warm milk.

3. Slowly stir the flour into the liquid mix with a fork, until a sticky and wet dough forms.

4. Empty the dough onto a lightly floured surface (counter top or a large wooden chopping board) and hand-knead the dough for 10 - 12 minutes until a smooth ball forms. You can dust your hands with flour as well to keep the dough from sticking to your hands. Once the dough feels soft and elastic, wrap it in clingfilm and rest it on the counter for about 30 minutes.

5. While the dough rests, prepare the filling by mixing the brown sugar and spices together in a bowl.

6. In the meantime, melt your butter and let it cool down

7. Unwrap your dough and roll it out into as wide and as thin a rectangle as you can manage.

8. Brush the dough lightly with the melted butter or cooking oil

9. Sprinkle the filling evenly across the oiled side of the dough and then fold the dough into pleats (like an accordion paper fan). This will keep the filling separate and contained between the layers we have formed by folding the dough.

10. Roll the folded dough into a tight spiral/coil, tucking the last end under the coil and flatten the whole coil down.

11. Wrap the dough in clingfilm again and rest for 15 - 20 minutes.

12. Roll out the dough for a final time into a rectangle. Usually chapati are kept slighlty thick when you roll out the dough, but we are not going for a fluffy biscuit. We are interested in a thin wafer that snaps as you bite into it.

13. Brush the top of the dough with remaining oil or butter and cut out circular discs with a cookie cutter or cut out rectangular cookie shapes (the rectangular method is quicker and doesn't leave excess dough). If you are baking and not frying your cookies, pre-heat the oven at maximum temperature.

14 a. Heat a non-stick pan at low-medium heat and brush with a bit of cooking oil. Gently add your dough discs and fry for about 1 - 2 minutes and then flip over when the dough looks cooked and cook for another 30 seconds. It's important to use a low frying temperature to ensure the sugar inside melts but doesn't caramelise while the dough cooks through. Transfer the cookies to a cooling rack and set aside.

14 b. If baking your cookies transfer the dough to an oven tray lined with non-stick wax paper. They can be arranged quite close to each as they will not expand much as they bake. Bake at maximum temperature for about 5 - 7 minutes. Keep a close eye on the wafers as they bake as they can go from just right to caramelised or burnt in a matter of seconds. Immediately remove them from the oven and onto the cooling rack as soon as they start browning, as in the photo above.

15. After they cool down the wafers should crisp up and you can enjoy them with a hot beverage.

Enjoy and let us know how they turn out via Instagram or Facebook.

Comentarios